Wednesday, April 26, 2017
This tutorial is written for those with knowledge of PSP
Supplies Needed:
Tube of choice: I'm using the wonderful art work of Ismael Rac
Store is closing and Rac has tubes 60% off until 4/30/17
You can find his tubes and sale HERE
PTU Scrapkit by Jen's Sweet Temptations called "Spring Time Dreams"
You can purchase this awesome kit at one of her stores HERE
Spring Template #1 by Fired by Flamin HERE
Mask of choice
Ok lets get started:
Open template - Shift D to duplicate then close out original
Delete word art & flowers
I increased the size of my layers (optional)
Click on (L) yellow circle selections,select all, float,defloat
paste a paper of choice from the kit - I used paper10
selection invert delete
select none delete the original
Duplicate circle and move over to right (see my tag)
Click on (R) yellow circle selections,select all, float,defloat
paste a paper of choice from the kit - I used paper4
selection invert delete
select none delete the original
Click on green rect 1 selections,select all, float,defloat
paste a paper of choice from the kit - I used paper3
selection invert delete
select none delete the original
Click on pink rect 1 selections,select all, float,defloat
paste a paper of choice from the kit - I used paper7
select none delete the original
add noise with settings of choice
Click on green rect 2 selections,select all, float,defloat
paste a paper of choice from the kit - I used paper6
selection invert delete
select none delete the original
apply Filters Unlimited Fine Canvas with settings of choice
Click on grey rect selections,select all, float,defloat
paste a paper of choice from the kit - I used paper5
selection invert delete
select none delete the original
apply Cybia Boxed Doys with settings of choice
Click on blue rectangle selections,select all, float,defloat
paste a paper of choice from the kit - I used paper9
selection invert delete
select none delete the original
Click on pink rectangle 2 selections,select all, float,defloat
paste a paper of choice from the kit - I used paper8
selection invert delete
select none delete the original
Place your main tube
Xero Radiance at default settings
Now time to add our elements
I used the following:
Element 7
Element 10
Element 11
Element 16
Element 19
Element 20
Element 26
Element 27
Element 30
Element 32
Element 39
Element 40
Element 42
Element 43
Element 45
Element 47
Element 50
Element 51
Element 53
Element 59
Merge your layers
Open paper of choice & apply mask
Place your name where you like it
Add the Copyright and your License Number for the tube
Resize to your liking and save as PNG
This tutorial was created on April 20,2017 by Rhonda
Any resemblance to another Tag or Tutorial is purely coincidental

Saturday, April 22, 2017


This tutorial is written for those with knowledge of PSP
Supplies Needed:
Tube of choice: I'm using the wonderful art work of Kajenna
You can purchase this work at PFD HERE
FTU Scrapkit by Lorezan Design HERE
Template by Chas Designs HERE
Mask of choice
Ok Lets get Started:
Open template - Shift D to duplicate then close out original
Resize template 94% all layers
Canvas size 700x700
Deleted copyright, sun, circles and brush 1&2
Click on grey box 1&2 selections,select all, float,defloat
paste a paper of choice from the kit - I used paper17 (just the top half)
selection invert delete
select none delete the original
Click on black rectangle selections,select all, float,defloat
paste a paper of choice from the kit - I used paper4
selection invert delete
select none delete the original
Click on dark grey rectangle selections,select all, float,defloat
paste a paper of choice from the kit - I used paper21
selection invert delete
select none delete the original
Click on white oval selections,select all, float,defloat
paste a paper of choice from the kit - I used paper7
selection invert delete
select none delete the original
Click on black oval frame selections,select all, float,defloat
paste a paper of choice from the kit - I used paper19
selection invert delete
select none delete the original
add noise with your settings
Click on grey rectangle frame selections,select all, float,defloat
paste a paper of choice from the kit - I used paper23
selection invert delete
select none delete the original
add Xero Fritillary with your settings
I used 2 different gradients for my word art using noise and Fritillary
Decorate to your liking
Place your tube
Now time to add our elements
I used the following:
Bird
Butterfly 4
Colorcan 1&2
Colortube 1
Corner 1
Flowers 1,4,5,6
ScatterLines
Grass 2
Paint Pallet
Scatter 4
Stump Flower
Merge your layers
Open paper of choice and apply mask
Place your name where you like it
Add the Copyright and your License Number for the tube
Resize to your liking and save as PNG
This tutorial was created on April 22,2017 by Rhonda
Any resemblance to another Tag or Tutorial is purely coincidental
Wednesday, April 19, 2017
This tutorial is written for those with knowledge of PSP
Supplies Needed:
Tube of choice: I'm using the wonderful art work of Kajenna
You can purchase this tube at HERE
PTU Scrapkit by Purple Dream Scraps called Easter Fun
You can purchase this awesome kit HERE
Mask of choice
Resize elements to your liking & drop shadow
Ok lets get Started:
Open a blank image 700x700
Open frame 55 from kit and place as a new image
Open frame 54 and place on top of other frame
Grab the magik wand and click inside frame
Select modify expand by 10
Add new layer under first frame & select all
Open paper 4 & paste into selection
Select none
Place your tube to bottom
Now add any elements of choice
I used the following:
Element 1
Element 8
Element 9
Element 10
Element 11
Element 12
Element 15
Element 17
Element 18
Element 20
Element 21
Element 25
Element 26
Element 36
Element 39
Element 40
Element 41
Element 42
Merge your layers
Open paper of choice and apply mask
Place your name where you like it
Add the Copyright and your License Number for the tube
Resize to your liking and save as PNG
This tutorial was created on April 19,2017 by Rhonda
Any resemblance to another Tag or Tutorial is purely coincidental
Sunday, April 16, 2017
This tutorial is written for those with knowledge of PSP
Supplies Needed:
Tube of choice: I'm using the wonderful art work of Laguna
Which you must obtain a license to use at PFD HERE
FTU Scrapkit by Kittz HERE
Template #806 by Millie HERE
Mask of choice
Don't forget to leave a thank you when downloading
Ok Lets get Started:
Open template - Shift D to duplicate then close out original
Canvas size 700x700
Delete word art
Click on layer 1 selections,select all, float,defloat
paste a paper of choice from the kit - I used paper10
selection invert delete
select none delete the original
Click on layer 2&3 selections,select all, float,defloat
paste a paper of choice from the kit - I used paper8
selection invert delete
select none delete the original
Click on layer 4 selections,select all, float,defloat
paste a paper of choice from the kit - I used paper9
selection invert delete
select none delete the original
Add extra noise to layer 5
Click on layer 6 selections,select all, float,defloat
add new layer and fill with solid color of choice
select none delete the original
Click on layer 7,8,9&10 selections,select all, float,defloat
paste close-up of tube into squares
selection invert delete
select none delete the original
apply Xero Radiance & PhotoEffex Scanlines
Place your tube
Now time to add our elements
I used the following:
Element 2
Element 3
Element 4
Element 5
Element 7
Element 10
Element 12
Element 13
Element 14
Element 16
Element 30
Element 35
Element 39
Element 43
Merge your layers
Open paper of choice and apply mask
Place your name where you like it
Add the Copyright and your License Number for the tube
Resize to your liking and save as PNG
This tutorial was created on April16, 2017 by Rhonda
Any resemblance to another Tag or Tutorial is purely coincidental
This tutorial is written for those with knowledge of PSP
Supplies Needed:
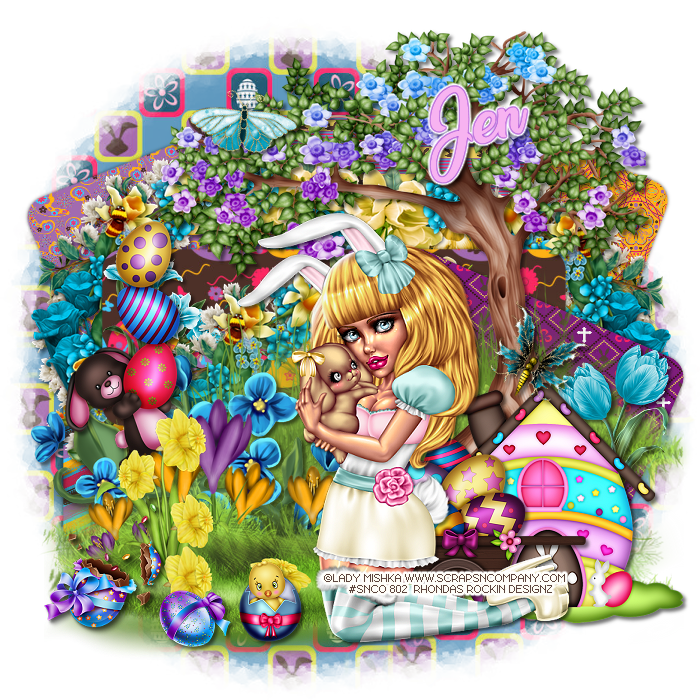
Tube of choice: I'm using the wonderful art work of Lady Mishka
Which you must obtain a license to use at S&CO HERE
PTU Scrapkit by Jen from Sweet Temptations called "Easter Baskets"
You an purchase this awesome kit HERE
Template #83 by Rissa's Designs HERE
Mask of choice
Don't forget to leave a thank you when downloading
Ok Lets get Started:
Open template - Shift D to duplicate then close out original
Canvas size 700x700
I moved my layers down to bottom for room to work
Delete copyright, layer 8 &word art
Click on layer 5 selections,select all, float,defloat
paste a paper of choice from the kit - I used paper7
selection invert delete
select none delete the original
Click on layer 6 selections,select all, float,defloat
paste a paper of choice from the kit - I used paper2
selection invert delete
select none delete the original
Click on layer 2 selections,select all, float,defloat
paste a paper of choice from the kit - I used paper8
selection invert delete
select none delete the original
Click on layer 3 selections,select all, float,defloat
paste a paper of choice from the kit - I used paper6
selection invert delete
select none delete the original
Click on layer 4 selections,select all, float,defloat
paste a paper of choice from the kit - I used paper5
selection invert delete
select none delete the original
Click on layer 7 selections,select all, float,defloat
paste a paper of choice from the kit - I used paper4
selection invert delete
select none delete the original
Place your tube
Now time to add our elements
I used the following:
Element 3
Element 9
Element 10
Element 11
Element 12
Element 13
Element 14
Element 15
Element 16
Element 19
Element 20
Element 22
Element 26
Element 28
Element 39
Element 45
Element 49
Element 50
Element 51
Merge your layers
Open paper of choice and apply mask
Place your name where you like it
Add the Copyright and your License Number for the tube
Resize to your liking and save as PNG
This tutorial was created on April14, 2017 by Rhonda
Any resemblance to another Tag or Tutorial is purely coincidental
Thursday, April 13, 2017
This tutorial is written for those with knowledge of PSP
Supplies Needed:
Tube of choice: I'm using the wonderful art work of Kajenna
You can purchase this work at PFD HERE
PTU Scrapkit by Purple Dreams Scraps called Spring Moments HERE
Template #1 by Rosie & Missy HERE
Mask of choice
Don't forget to leave a thank you when downloading
Ok Lets get Started:
Open template - Shift D to duplicate then close out original
Canvas size 700x700
Deleted copyright, word art, stars & frames/framebacks
Click on oval selections,select all, float,defloat
paste a paper of choice from the kit - I used paper8
selection invert delete
select none delete the original
Click on rectangle 1&2 selections,select all, float,defloat
paste a paper of choice from the kit - I used paper7
selection invert delete
select none delete the original
Click on square 1&2 selections,select all, float,defloat
paste a paper of choice from the kit - I used paper5
selection invert delete
select none delete the original
Click on rounded rectangle 1&3 selections,select all, float,defloat
paste a paper of choice from the kit - I used paper8
selection invert delete
select none delete the original
Click on rounded rectangle 2&4 selections,select all, float,defloat
paste a paper of choice from the kit - I used paper10
selection invert delete
select none delete the original
Click on left & right rounded rectangle selections,select all, float,defloat
paste a paper of choice from the kit - I used paper9
selection invert delete
select none delete the original
Click on circle background selections,select all, float,defloat
paste a paper of choice from the kit - I used paper3
selection invert delete
select none delete the original
Click on circle selections,select all, float,defloat
paste a paper of choice from the kit - I used paper2
selection invert delete
select none delete the original
Click on glitter frame selections,select all, float,defloat
paste a paper of choice from the kit - I used paper6
selection invert delete
select none delete the original
add noise
Click on circle selections,select all, float,defloat
paste a paper of choice from the kit - I used paper4
selection invert delete
select none delete the original
Place your tube
Now time to add our elements
I used the following:
Element 1
Element 3
Element 4
Element 20
Element 21
Element 22
Element 23
Element 29
Element 31
Element 32
Element 34
Element 35
Element 36
Element 37
Element 38
Element 40
Element 47
Element 59
Merge your layers
Open paper of choice and apply mask
Place your name where you like it
Add the Copyright and your License Number for the tube
Resize to your liking and save as PNG
This tutorial was created on April 12,2017 by Rhonda
Any resemblance to another Tag or Tutorial is purely coincidental
Tuesday, April 11, 2017
This tutorial is written for those with knowledge of PSP
Supplies Needed:
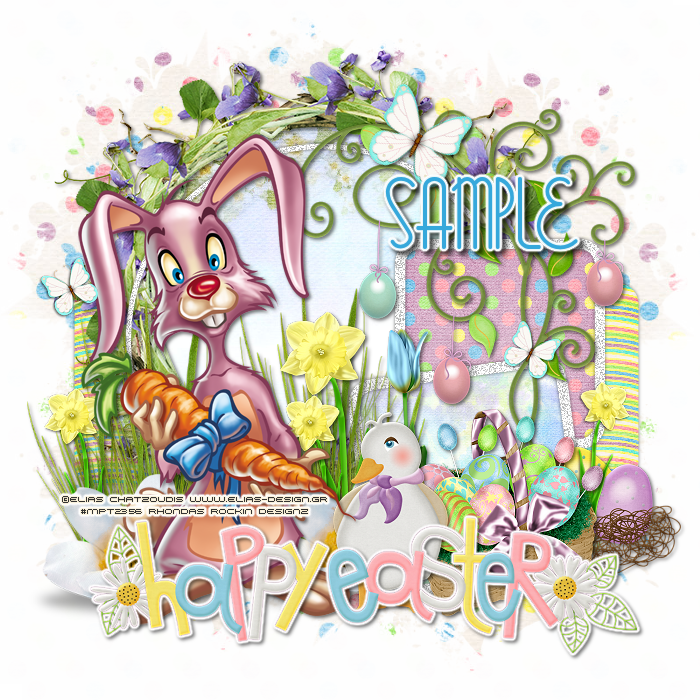
Tube of choice: Im using the wonderful art work of Elias Chatzoudis
Older tube I purchased at MPT which has closed
You can purchase his tubes now HERE
FTU kit by Gina's Gem Scraps HERE
Template #200 by Millie HERE
Mask of choice
Ok Lets get Started:
Open template - Shift D to duplicate then close out original
Increase canvas size 700x700
Deleted copyright & the 3 egg layers
Click on layer 1 selections,select all, float,defloat
add new layer - open paper 7 and paste into selection
Select none - delete original layer
Add dropshadow of choice
Click on layer 2 selections,select all, float,defloat
add new layer - open paper 4 and paste into selection
Select none - delete original layer
Add dropshadow of choice
Add noise of choice to layer 3
Add dropshadow of choice
Click on layer 4 selections,select all, float,defloat
add new layer - open paper 5 and paste into selection
Select none - delete original layer
Click on layer 6 selections,select all, float,defloat
add new layer - open paper 6 and paste into selection
Select none - delete original layer
Click on layers 5&7
add noise with settings of choice
Add dropshadow of choice
Place your tube to left of tag
Now time to add our elements
I used the following:
Grass with Flowers - Resize & place behind your tube to left
Duplicate this element, mirror & place to other side of tube
Fabric Flower - Resize and place in front of grass downward a little so grass still shows
Duplicate this flower and move in front of other grass
Duckling - Resize & place beside tube to right
Easter Basket - Resize & place beside duck going toward the right
Potted Tree - Resize and mirror - Place behind basket
Nest - Resize and place behind Basket toward right of tag
Daffodil - Resize & place in front of grass - Place as many as you like around tag
Tulip - Resize and place around tag
Flower Wreath - Place in front of layer 2 which is the circle
Cute Butterfly - Resize and place around tag
Happy Easter Word Art - Resize & place anywhere on tag
Merge your layers
Open paper of choice and apply mask
Place your name where you like it
Add the Copyright and your License Number for the tube
Resize to your liking and save as PNG
This tutorial was created on April 7,2017 by Rhonda
Any resemblance to another Tag or Tutorial is purely coincidental
This tutorial is written for those with knowledge of PSP
Supplies Needed:
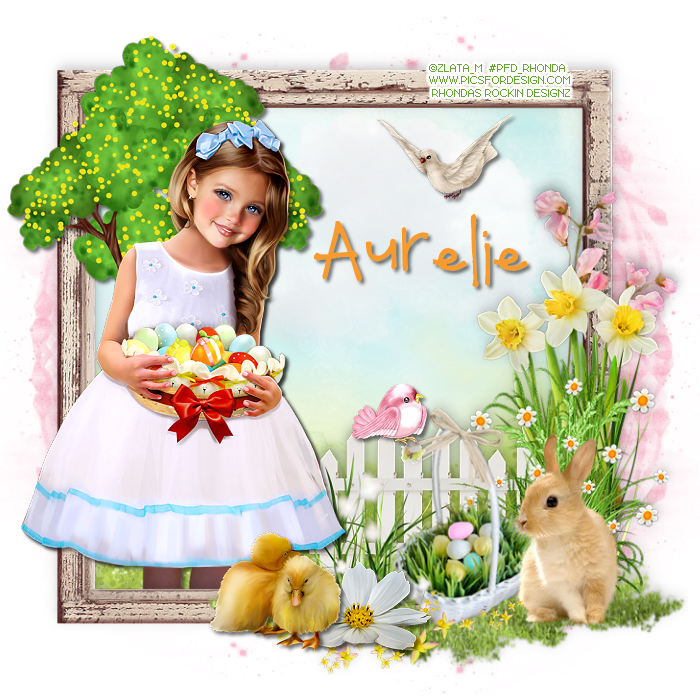
Tube of choice: I'm using the wonderful art work of Zlata_M
You must obtain a license to use HERE
PTU Scrapkit by Purple Dreams Scraps called Spring Moments
Kit can be purchased at PFD HERE
FTU Cluster by Scraps of Enchantment HERE
Mask by Rachel Designs HERE
Ok Lets get Started:
Open the cluster - Shift D to duplicate & close original
Using selection tool draw a square around frame
Add new layer under frame
Open paper 3 & paste into selections
Place tube to tag
Add any other elements you want from the kit
I used:
Element 2
Element 3
Element 4
Element 24
Element 43
Merge your layers
Open paper of choice and apply mask
Place your name where you like it
Add the Copyright and your License Number for the tube
Resize to your liking and save as PNG
This tutorial was created on April 9,2017 by Rhonda
Any resemblance to another Tag or Tutorial is purely coincidental
This tutorial is written for those with knowledge of PSP
Supplies Needed:
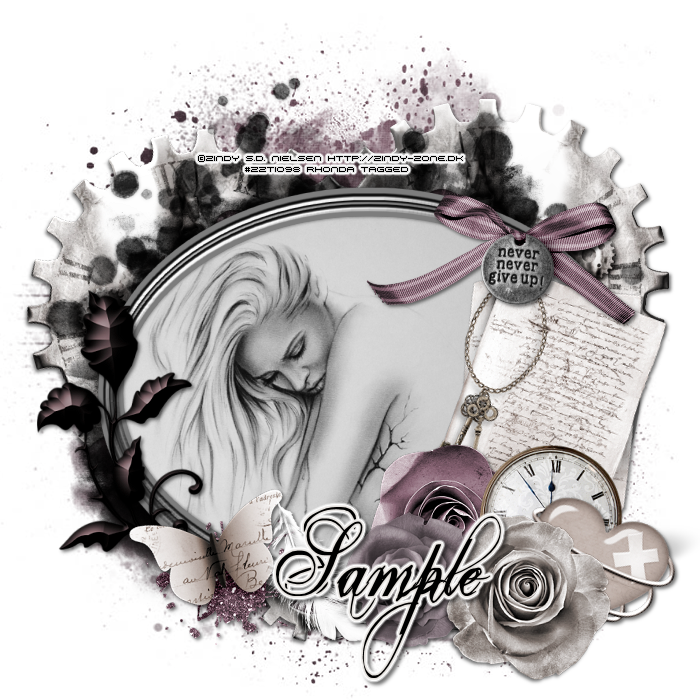
Tube of choice: I'm using the wonderful art work of ZindyZone
You must obtain a license to use HERE
FTU Scrapkit from Chaos Priestess HERE
Mask of choice
Ok lets get Started:
Resize elements to your liking
This is a very quick and easy tutorial
Open blank canvas 700x700
Open frame 1
Click inside with magic wand & expand by10
Add new under frame
Open tube and paste into selections
Select none
I used Cracked Open tube that comes with background
If using another tube paste paper of choice inside frame and add tube
Now time to add our elements
Open clock and paste behind frame to right side - duplicate and mirror
Open parchment and place to far right
Open doodle and place to far left of frame - fit doodle to frame
Open flower 1 and place to bottom of parchment paper
Open pocket watch and place beside flower to right
Open flower 4 (image mirror)and place in front flower 1 - drop flower down a little
Open heart and place beside pocket watch to the right - rotate a little to right
Open flower 3 and place in front of heart but drop flower down
Open bow 3 and place to top right of frame
Open butterfly and place under doodle
Open feather and place under butterfly
Merge layers
Open paper 6 and apply mask
Place your name where you like it
Add the Copyright and your License Number for the tube
Resize to your liking and save as PNG
This tutorial was created on March 22,2017 by Rhonda
Any resemblance to another Tag or Tutorial is purely coincidental

This tutorial is written for those with knowledge of PSP
Supplies Needed:
I'm only using tubes from this cute kit
FTU Scrapkit by Jens Sweet Temptations HERE
Template #177 by Punky Butts HERE
Template by Leather and Lace HERE
Ok Lets get Started:
Open template - Shift D to duplicate then close out original
Resize template - Canvas size 700x700
Delete copyright and rectangles in middle of template
Click on scallop layers selections,select all, float,defloat
add new layer and paste solid color or gradient of choice into selection
select none delete the original
Click on white circle layers selections,select all, float,defloat
add new layer - open paper of choice and paste into selections
select none delete the original
Click on outer circle layers selections,select all, float,defloat
add new layer and paste solid color or gradient of choice into selection
select none delete the original
Color your dots if desired as well as word art
Now time to add our elements
I used the following:
Bunny 4
Carrot
Chick
Chicks
Cupcake 1
Eggs
Pot
Trike Duck
Merge your layers
Open paper of choice and apply mask
Place your name where you like it
Add the Copyright and your License Number for the tube
Resize to your liking and save as PNG
This tutorial was created on April 9,2017 by Rhonda
Any resemblance to another Tag or Tutorial is purely coincidental

This tutorial is written for those with knowledge of PSP
Supplies Needed:
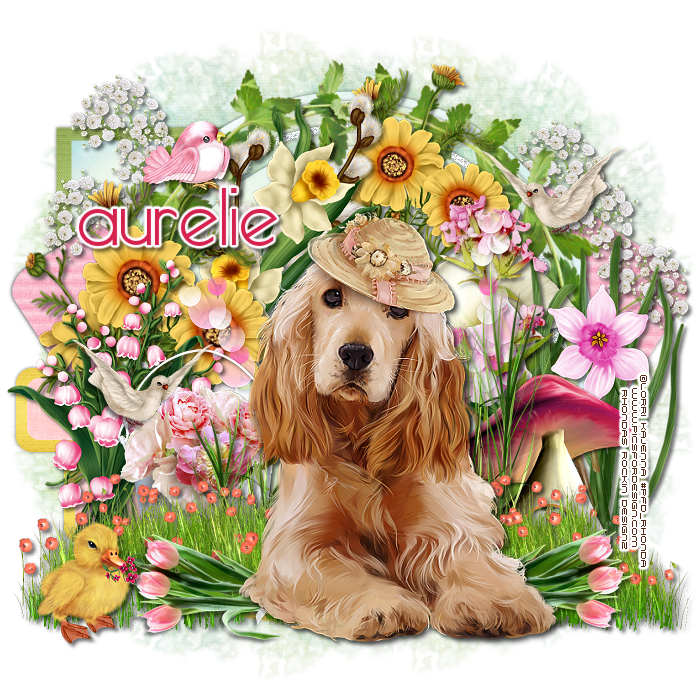
Tube of choice: I'm using the wonderful art work of Maryline Cazenave
You can purchase these tubes HERE
FTU kit by Bitzy Beez Designz HERE
Collab Template #4 by Rosie & Missy HERE **Last group of templates**
Mask of choice
Ok Lets get Started:
Open template - Shift D to duplicate then close out original
Increase canvas size 700x700
Deleted copyright, glitter stars, wordart, dotted lines, thin rectangle 1&2, squares 1&2
Click on oval layer selections,select all, float,defloat
add new layer - open paper 16 and paste into selection
Select none - delete original layer
Click on right circle layer selections,select all, float,defloat
add new layer - open paper 13 and paste into selection
Select none - delete original layer
Click on left circle layer selections,select all, float,defloat
add new layer - open paper 14 and paste into selection
Select none - delete original layer
Click on circle layer selections,select all, float,defloat
add new layer - open paper 10 and paste into selection
Select none - delete original layer
OPTION - I ADDED BORDERS TO MY LAYERS WITH NOISE
Place your main tube in middle of tag
Now time to add our elements
I used the following:
Bunny Eggs 1 - Resize & place to bottom right corner
Bunny 3 - Resize & place to left bottom corner
Candy 1 - Resize & place beside Bunny 3
Chick In Grass - Place behind Bunny Eggs 1 - Duplicate & mirror
Eggs 2 - Resize and place behind Bunny 3 to left
Easter Basket 2 - Resize & place in front of flowers to right side
HINT: MOVE THE FLOWER LAYERS UP WHEN ADDING ELEMENTS
Candy Bucket 1 - Resixe and place beside Basket 2 to left
Word art 1 - Resize & place anywhere on tag
Merge your layers
Open paper of choice and apply mask
Place your name where you like it
Add the Copyright and your License Number for the tube
Resize to your liking and save as PNG
This tutorial was created on April 1,2016 by Rhonda
Any resemblance to another Tag or Tutorial is purely coincidental

This tutorial is written for those with knowledge of PSP
Supplies Needed:
Tube of choice: I'm using the wonderful art work of Pinup Toons
You must obtain a license to use from their store HERE
FTU kit from Crazy Cat Creations HERE
Mask of choice
Ok Lets get Started:
Resize elements to your liking
This is a very quick and easy tutorial
Open blank canvas 700x700
Open element 6 and place in center
Click inside frame with magic wand and expand by 10
Add new layer under frame
Open paper of choice and paste into selection
Select none
Add other elements from kit to your tag
I used the following:
Element 1
Element 4
Element 9
Element 11
Element 12
Element 13
Element 15
Element 22
Element 23
Element 25
I made the rain from an old tutorial I had saved
Merge layers
Open paper of choice and apply mask
Place your name where you like it
Add the Copyright and your License Number for the tube
Resize to your liking and save as PNG
This tutorial was created on April 11,2017 by Rhonda
Any resemblance to another Tag or Tutorial is purely coincidental
Subscribe to:
Posts
(Atom)
Grab My Blinkie

I CT For


Blogs I Visit


